
I don't profess to be the best sewer in the world but I am really pleased with how it's turned out and wanted to show just how easy it is :)
You will need:

- Fabric (I'd recommend something quite hard wearing like a thick heavyweight cotton, however as I am all up for recycling you could use pretty much any spare fabric)
- Fabric scissors
- Zip (YKK are a good brand, ideally in a colour to compliment your fabric)
- Tailors chalk or similar
- Tape Measure, pins and seam ripper
- A sewing machine and coordinated sewing thread
- An iron and ironing board
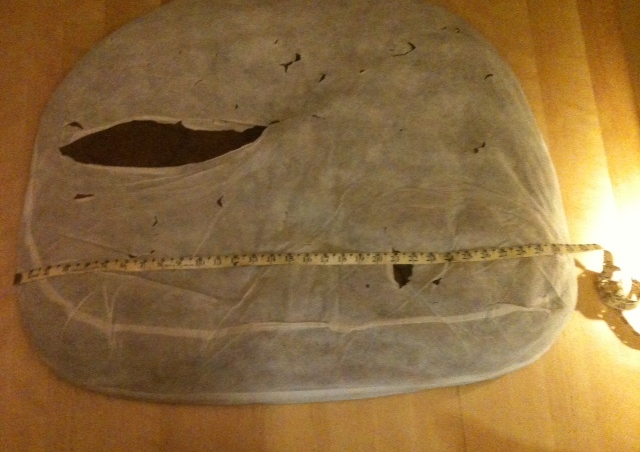
1.Start by measuring your pad inner.
**As I'm using mine as a dogs bed, I added extra filling in the form of an old sleeping bag...clean blankets and towels are also good and free!!!
Just make sure to allow for this when working out your measurements.
2.Add 2" to both the width and length for your measurements. This will allow for seam allowance.
3.Cut out 2 pieces of material, which will be the front and back of your cushion. (I used contrasting pieces of some Ikea fabric that I had spare)
**when doing anything involving fabric I like to make sure its free from creases, so keep the iron handy.


4.Lay the 2 pieces of fabric, right sides together and pin 1 of the shorter sides...this will be the side we are going to put the zip.
5.We need to center the zip onto the pinned end, so measure your zip and half the difference between this measurement and the fabric width, this will give you an equal amount of fabric each side of the zip. Using the chalk, mark where the zip will be and put the zip to one side.

6.Allowing an 1/2" seam stitch the pinned side up to your first chalk mark, do a reverse stitch and then you need to change the stitch to the longest your machine has (this is going to act as a tacking stitch and will be unpicked later) continue sewing down to just past the next chalk mark, do another reverse stitch and change back to the smaller stitch. Finish sewing to the end of the fabric..
**a shorter stitch length will give you a stronger seam. If you use a reverse stitch it gives you a secure start and finish.


7.Carefully iron open the seam you have just created.

8.Pin the zip onto the ironed out seam, using your chalk marks from earlier and with the zip situated down the crease.

9.Sew down either side of the zip, try to get as close as you can to the actual zip, if possible change the needle position. You may have to move the zipper to allow the sewing machines foot to pass.
**don't rush, keep the fabric flat and stitching on the corresponding side of fabric. (see the below diagram) Don't forget to start and finish with a reverse stitch.

 |
| View of the zip stitching on the reverse |
10.Now unpick your tacking stitch using the seam ripper (if you don't have one, use some small scissors but be careful you don't want to cut your material!)

11. You should now have a concealed zip which freely open and closes. (if you wish sew across the zip stitching as below)

Now you are on the home straight...
12. Keeping the right sides together and the zip slightly open, pin the remaining 3 sides.
**I gave the fabric a quick iron as it can get creased up whilst you attach the zip.
13. Allowing a 1" seam stitch all the way around.
**I stitched a second row round the outside, just to make it super dog resistant :) you wouldn't need this for a smaller cushion.
14.Cut the 4 corners off (Don't cut your stitching) and any other excess fabric you may have. I also trimmed any stray threads.

15. Turn in the right way and your new cover is ready for the cushion inner...
Hope you found it useful xx

.JPG)

